Contents
1
2
3
4
5
6
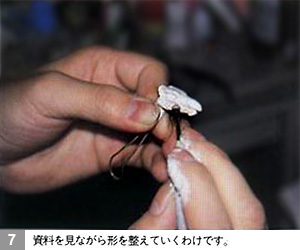
Process begins with thorough research of the skeleton, using collected publications, photos, and existing models (which can be a useful 3D reference).
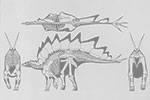
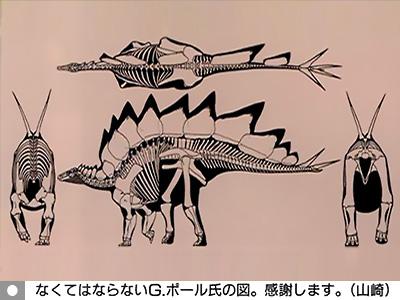
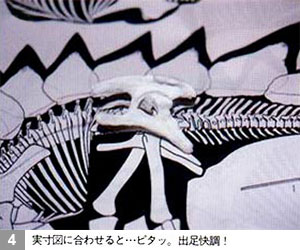
Primary reference for the model is a plan drawing of Stegosaurus (shown far right) taken from Complete Illustrated Guide to Dinosaur Skeletons (Gakken Co. Ltd Japan, 1998) by Gregory S. Paul. The image is enlarged to full size for a final scale of about 1:30 for the model. It will be used explicitly as a sculpting template.
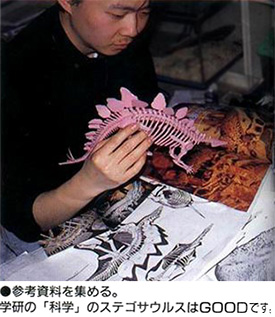
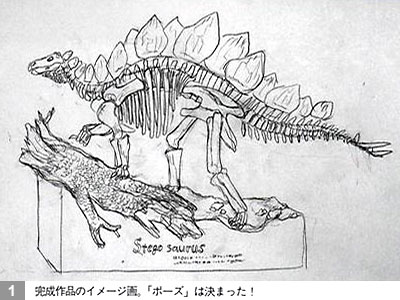
It's important to have a clear direction and plan, so a concept sketch of the proposed model is made, showing the skeleton posed on a diorama base.
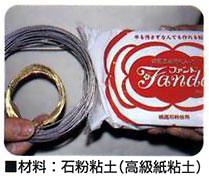
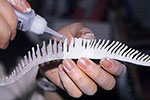
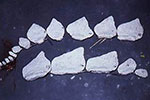
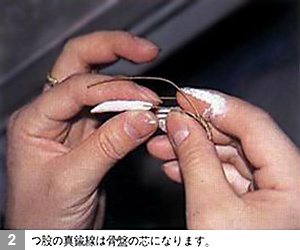
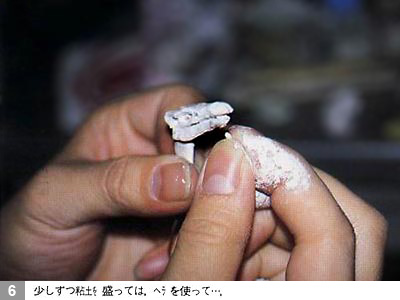
Modelling materials include wire and self-hardening clay.
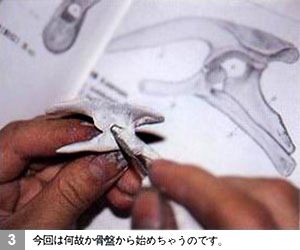
Note that parts are not final at this point; detail can be added later (using a rotary power tool, for example).
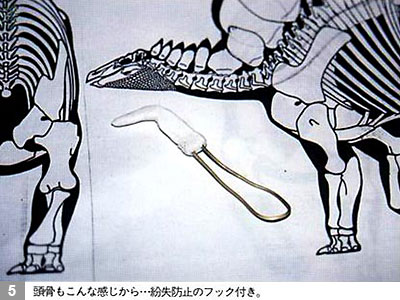
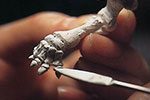
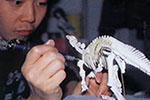
Next part to sculpt is the skull. Again, it is built using a wire support, but here a rough shape is affixed and hardened to a wire "handle" on which the skull is later sculpted. The pre-made support makes handling easier. The skull is an important focal point for the skeleton so I prefer to leave it until last but here Shigeru completes it early. As this model has such a tiny skull the maxilla and mandible are fashioned as a single piece.
Request
If you have additional information, resources, images
or can help with translation of the Japanese descriptions
of this material I am very keen to hear from you.
Please contact me.